
A colleague asked me to peer review a Citrix Virtual Apps & Desktops (CVAD) on Nutanix design that would be across datacentres and leverage Nvidia GPUs. We got onto the decision of the ‘old’ way of providing high-availability for the Nvidia licensing service and looking at which API calls we could use to determine health.
I was pleasantly surprised to read that in Nvidia DLS, Nvidia have simplified the design to have HA without much effort at all.
All we simply need to do is deploy the pair of appliances, configure the first one with basic information such as IP etc and then point it to the IP of the second one and it configures it for us into a HA cluster. We can then force a service restart on the primary, and watch it fail over to the secondary with ease.
I went through this in the lab environment to see how easy it was…
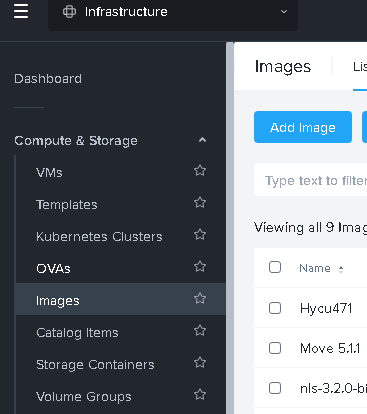
Using Prism Central I first browsed to the Images pane and clicked “Add Image”
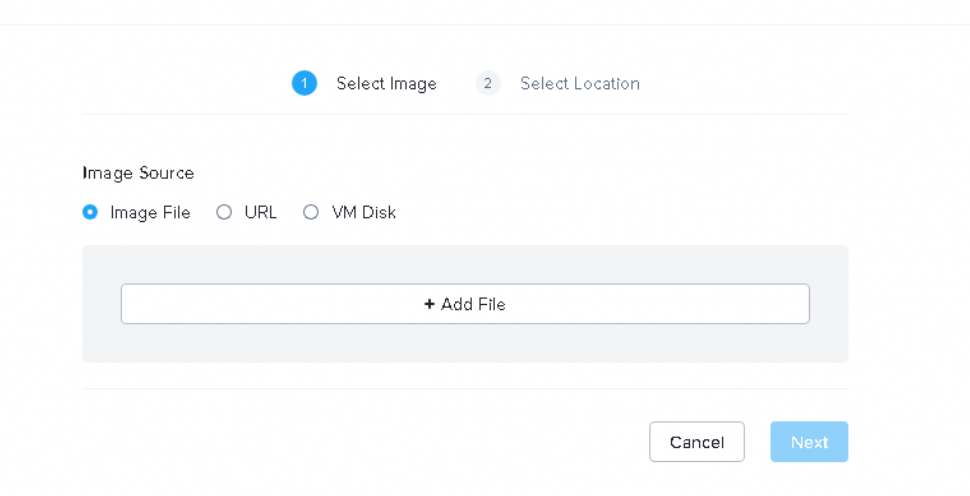
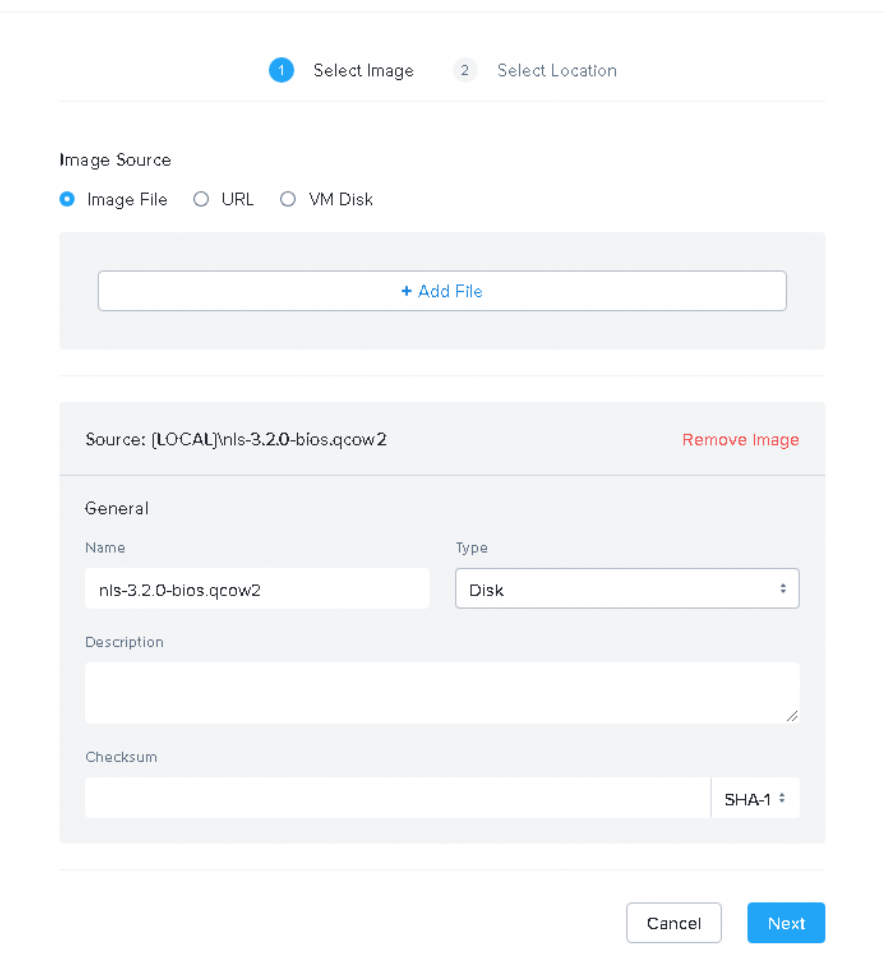
We select the downloaded qcow2 file and can optionally specify a checksum for the file being uploaded to ensure consistency. We’re in a lab connected locally, I’m pretty happy to skip this!
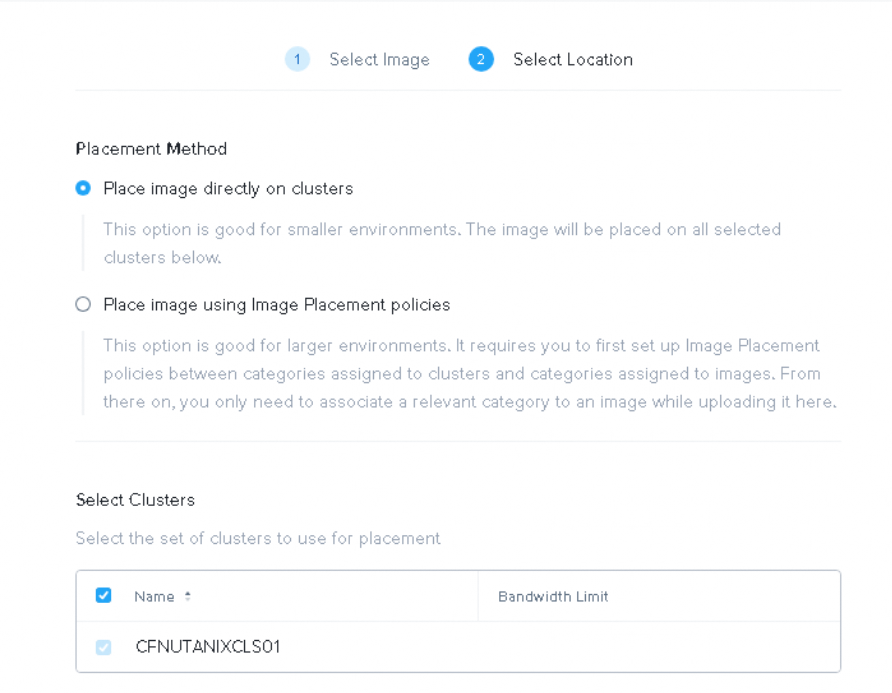
We only have the one cluster so the default option to ‘Place image directly on the cluster’
Once the upload is finished and distributed to the cluster we should see the tasks completed successfully

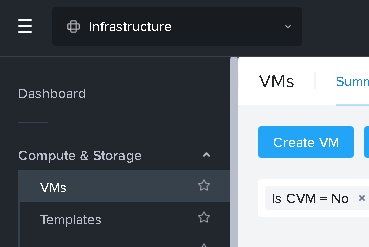
We can then navigate through to VMs – Create VM
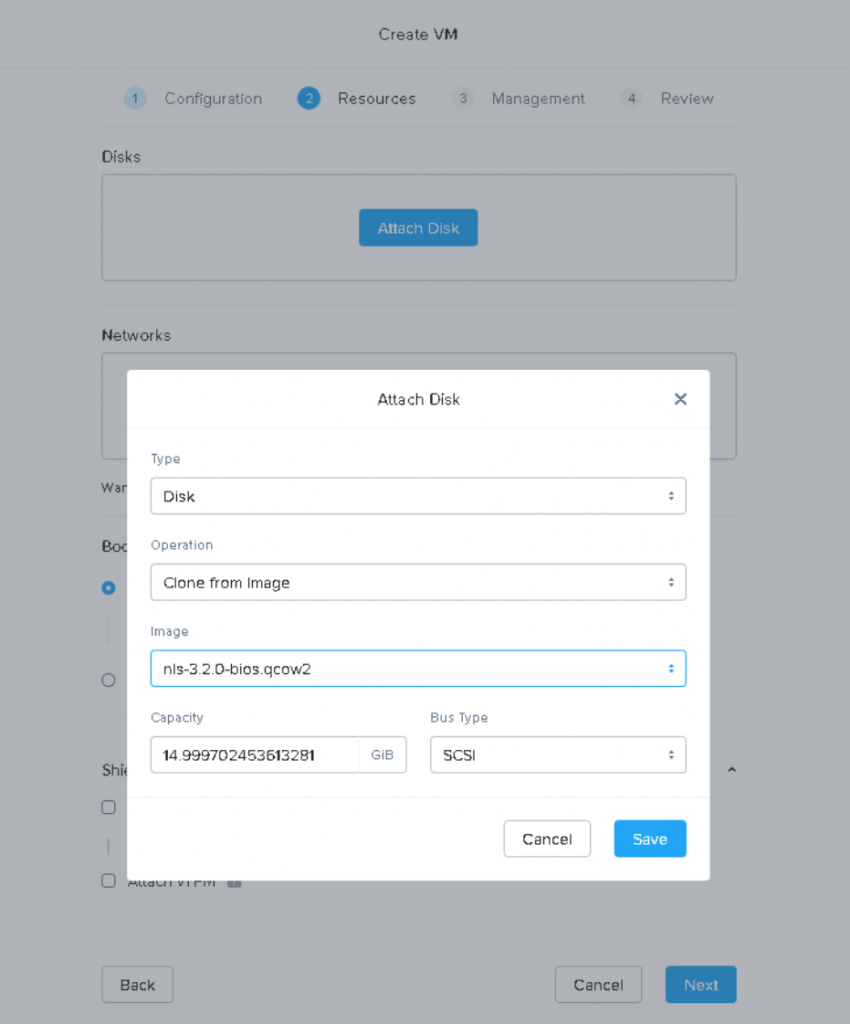
During the Create VM process we select the minimum specifications of 4vCPU and 8GB of RAM, then crucially select to ‘clone from image’ so we can choose the image we uploaded previously
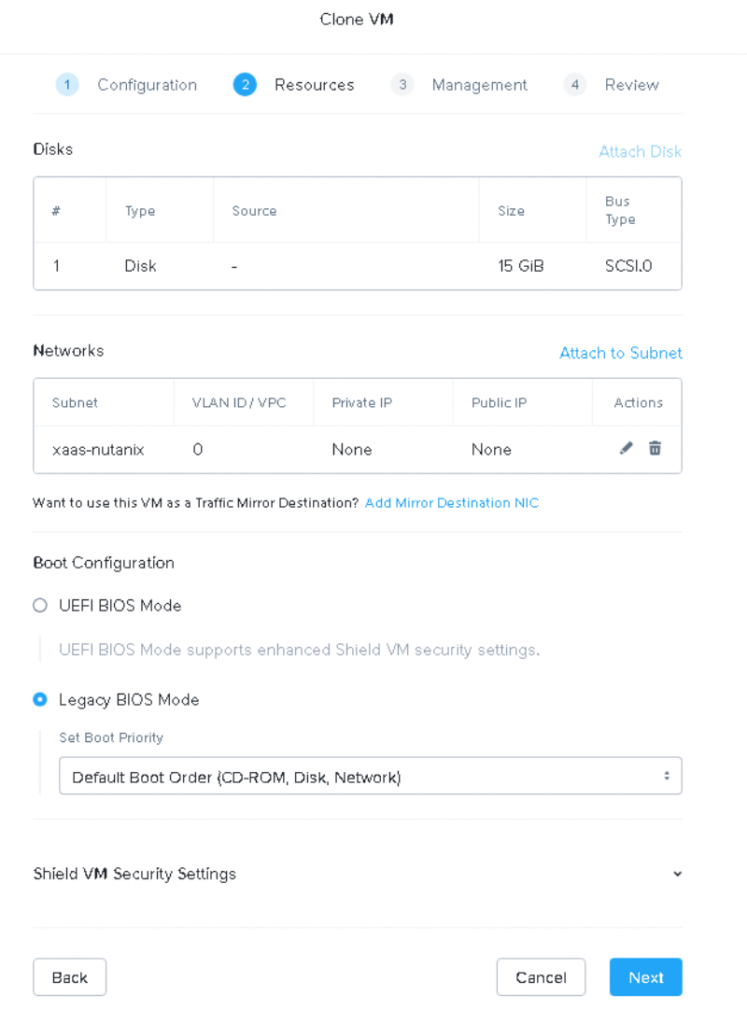
We need to choose BIOS as the boot configuration, UEFI won’t work with the uploaded image.
Once both VMs are created and powered on, we will see them obtain IPs from DHCP on boot up – it is possible to configure static IPs also.

Once the VMs are both booted up and showing IPs in Prism Central we can browse to the first one on https://ip and accept the self signed cert warning.
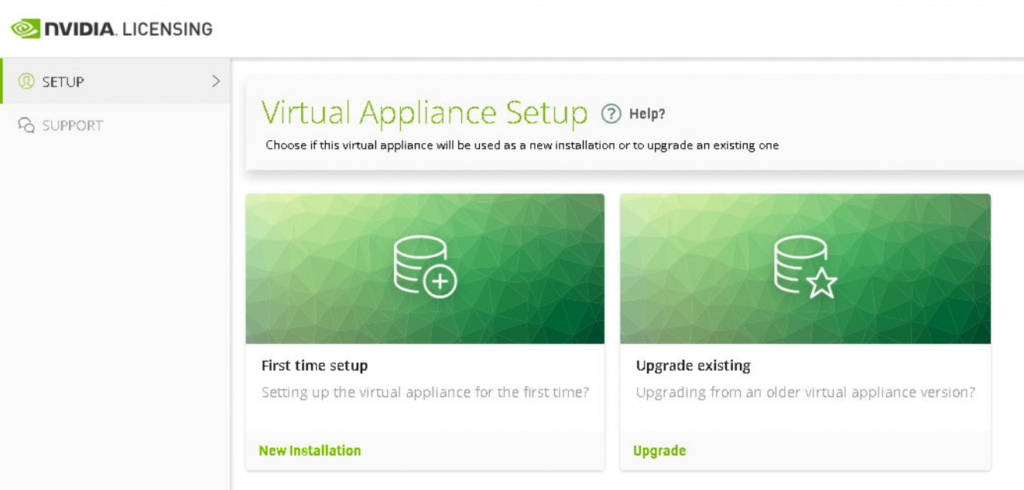
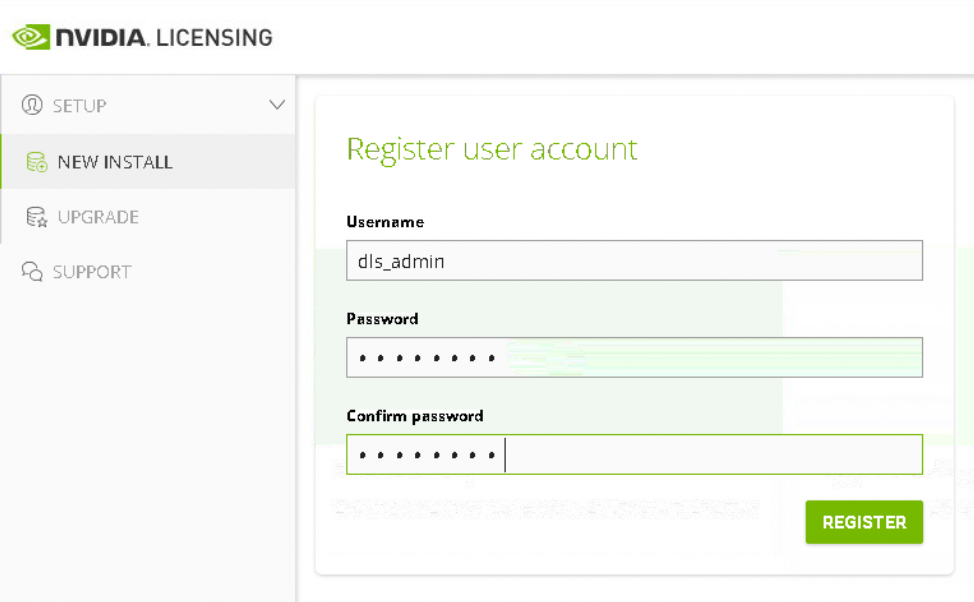
Once we click the ‘New Installation’ we are prompted to set the built in admin account password.
Once done we are presented with the default installed single primary node – ensuring both critical and other services are ‘active’

We can then click the “Configure High Availability” button which takes us to a very simple wizard where we type in the IP address of the second node. A few moments later the UI refreshes and shows us our HA pair.
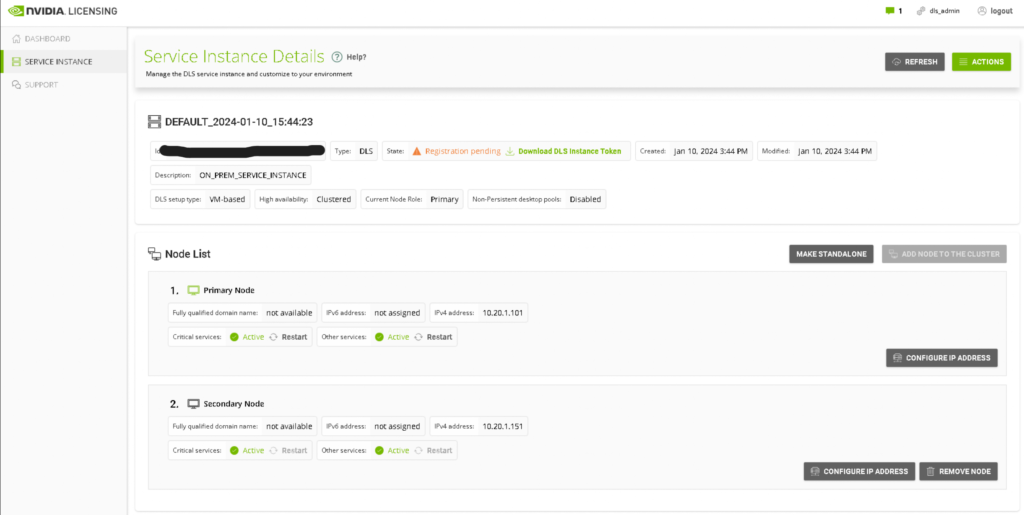
Clicking “Restart” next to the critical services label on the primary node causes the services to failover to the secondary node.
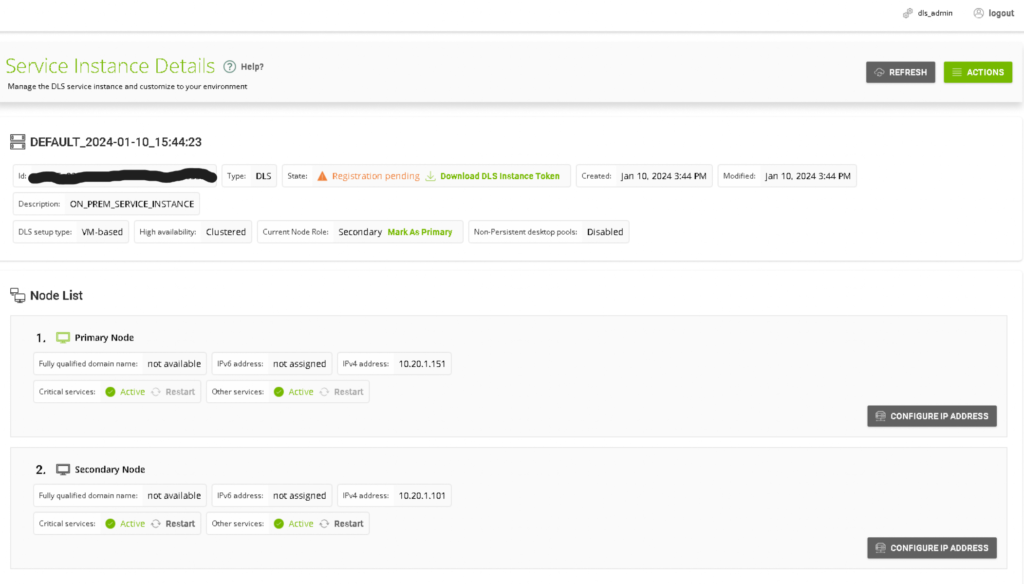
We can then refresh the UI and see that the “Current Node Role” is now Secondary, and the primary node has been updated to the secondary node.
We will explore the REST API in the near future to confirm that we can monitor service health across both of the nodes.